Customizing characters
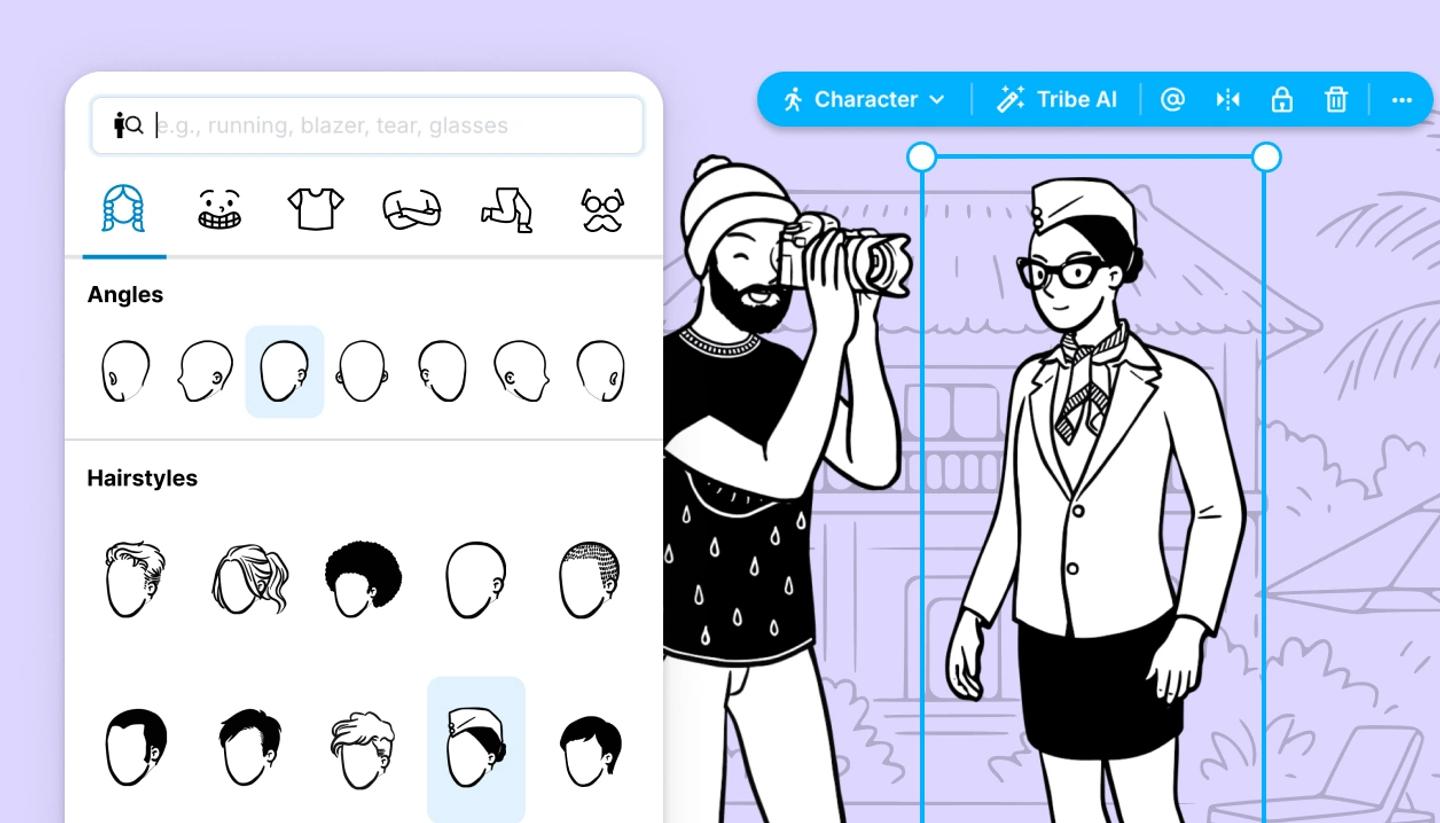
Add a character with Character in the left toolbar. To edit it, select it, then click it once more. You can change its hair, face, clothes and pose, turn its head and body, and save it as an element to use again.
Last updated Aug 29, 2026
Add a character
- On the Canvas, click
Character(the people icon) in the left toolbar. Or use the shortcut N to drop in a random basic character. - Click a preset from the carousels. Drag and resize as you like.
Open the editor
- Select the character, then click it once more. Or use the blue tool bar above it:
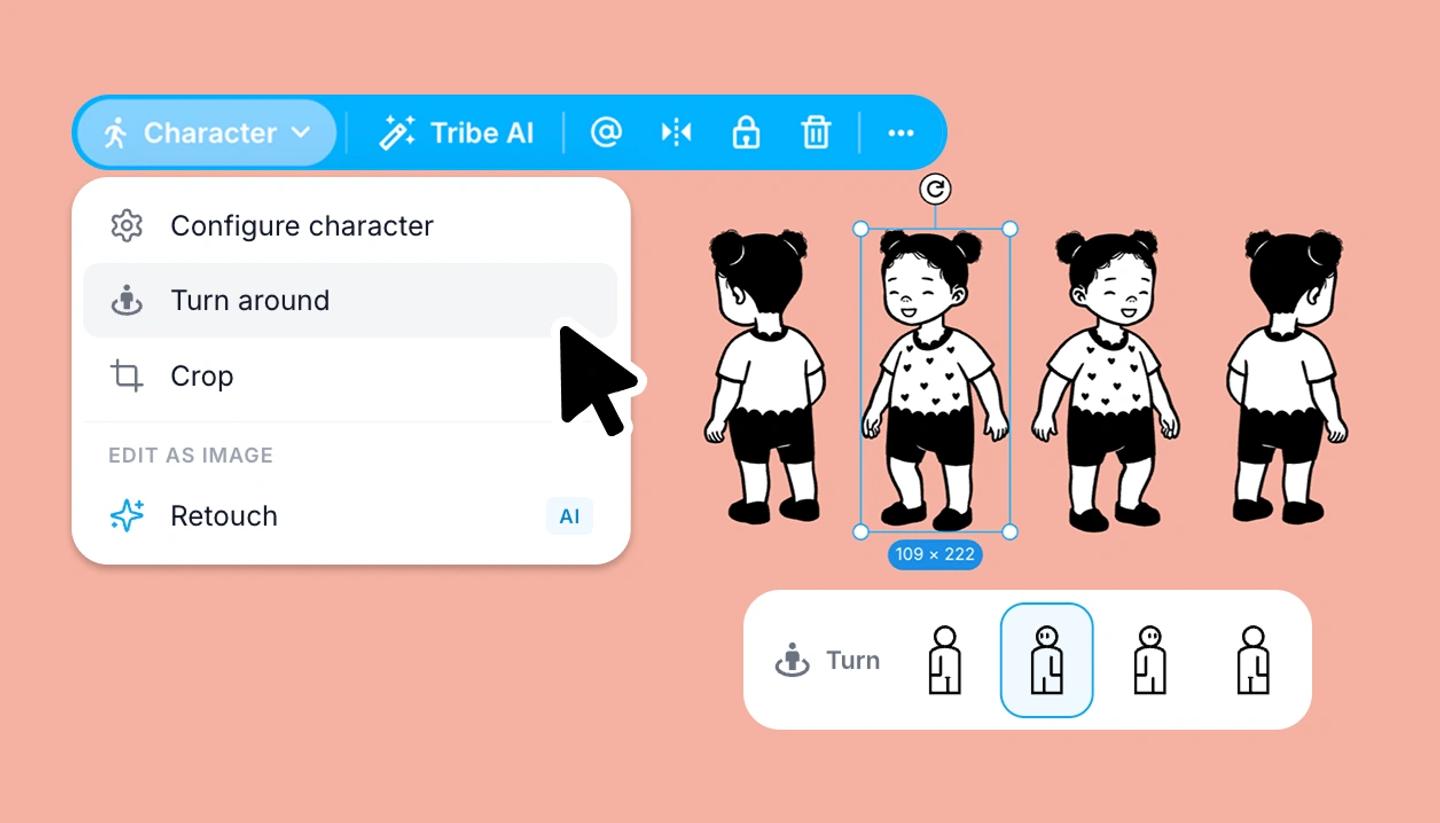
Character›Configure character. (Double-clicking opens Crop instead.) - Work through the tabs:
Hairstyle,Face(expressions),Top,Arms,LegsandMore(Wrinkles, Facial Hair, Glasses). Click a tile to apply it; the dashedNonetile removes an optional part. - Turn the head under
Angles(from Facing left backwards through Facing forwards to Facing right backwards) and the body with the floatingTurn aroundcontrol, which has four orientations. - Looking for something specific? Type in the search box (
e.g., running, blazer, tear, glasses) and filter by part. Each tab also has aStyledropdown to narrow to a drawing style.
Keep a character for later
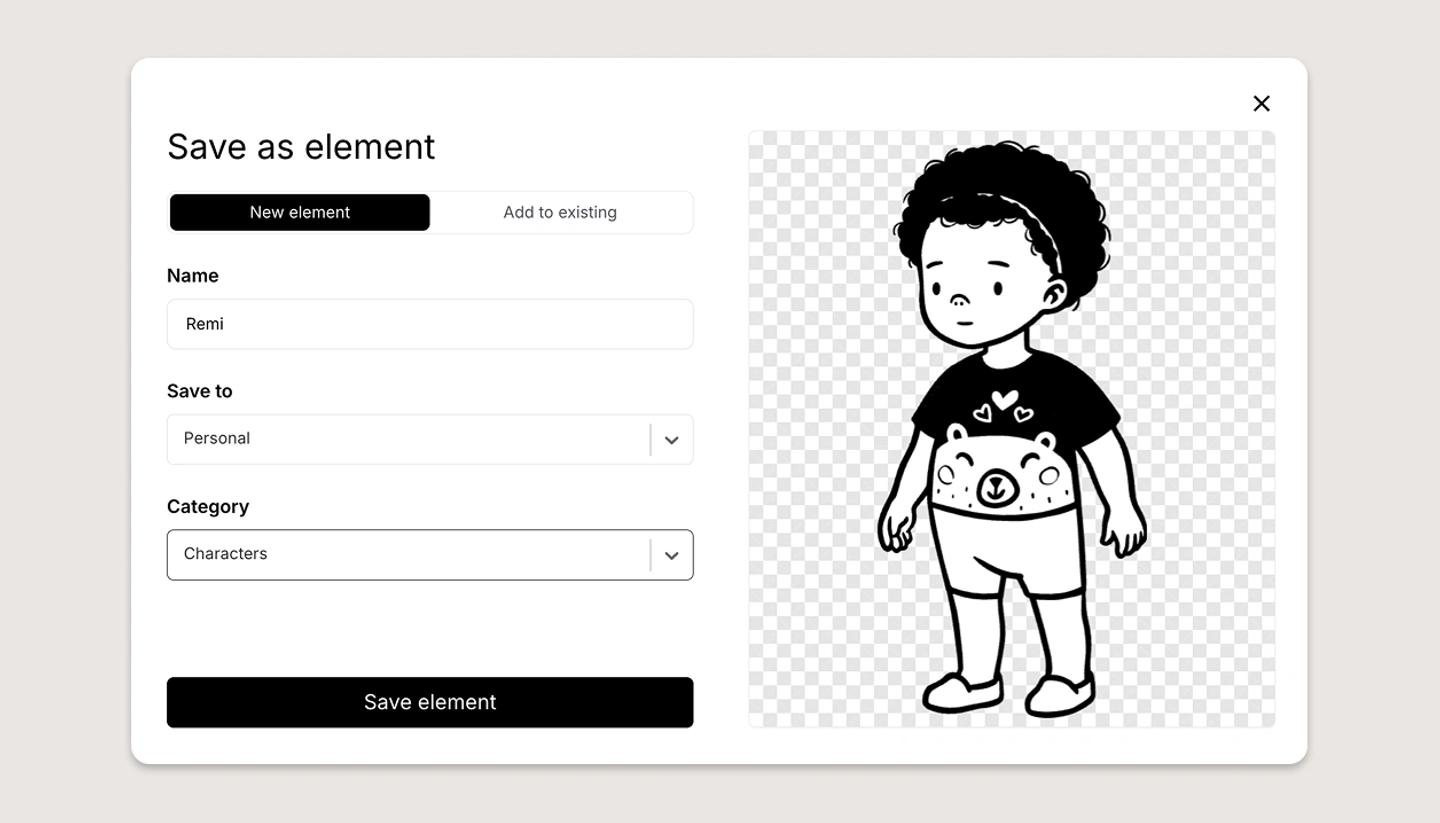
Right-click the finished character and choose Save as element. It joins your Elements library under Characters, ready to place in any shot or project, and you can @mention it in the script.
Common questions
Was this article helpful?
Need more help?
Send us a message. We reply within 3 days, usually sooner.