Working with scenes and shots
The Storyboard view is one card per shot under a header for each scene. Add, open, reorder, duplicate and delete from there; this overview shows where everything lives.
Last updated Aug 29, 2026
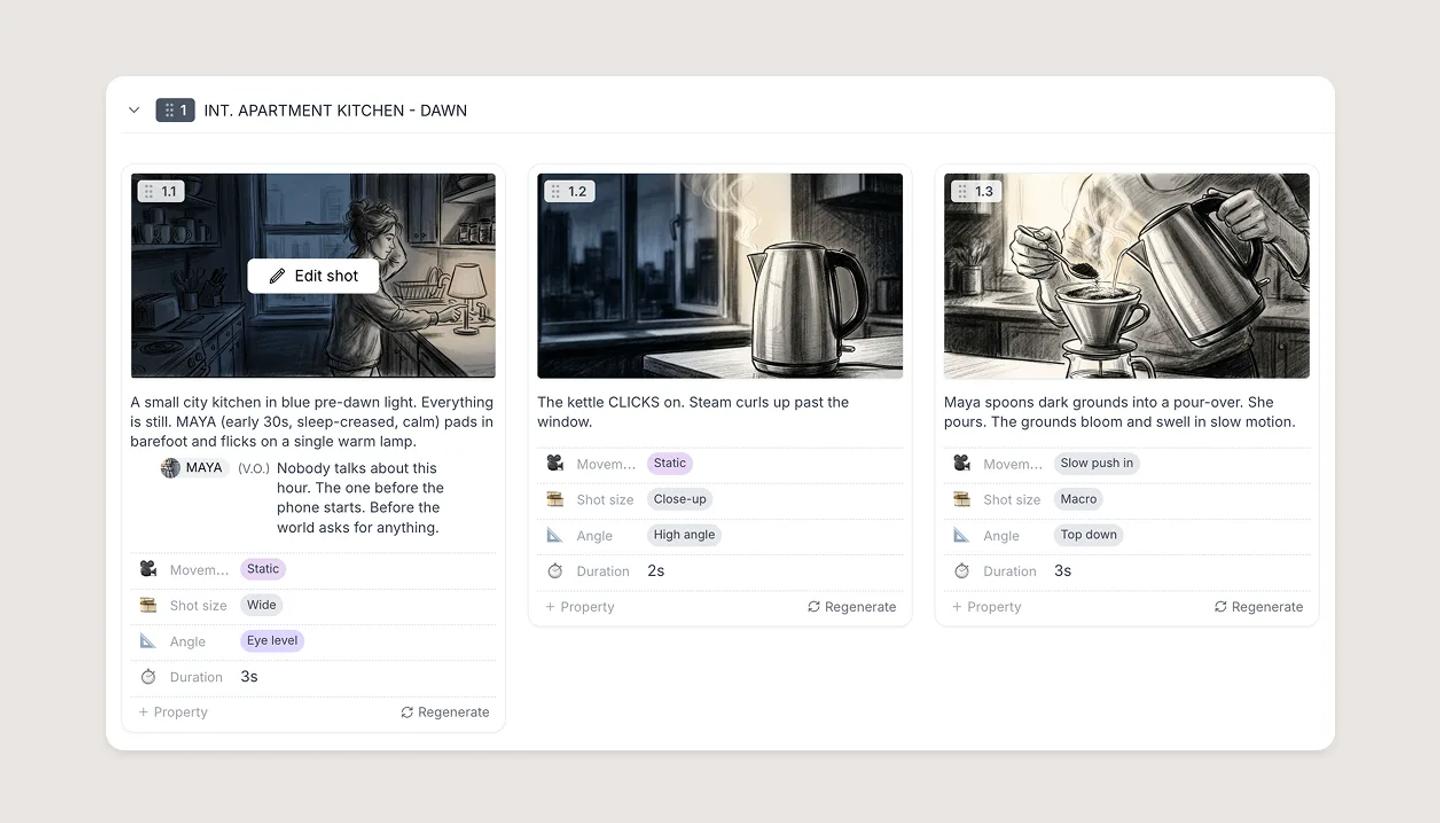
Click the Storyboard tab under the header. Every shot is a card showing its frame and, below it, the shot's script. Cards sit under a banner for their scene with the scene number, title and shot count. A new project starts with Scene 1 and one shot.
Adding
- A shot: the
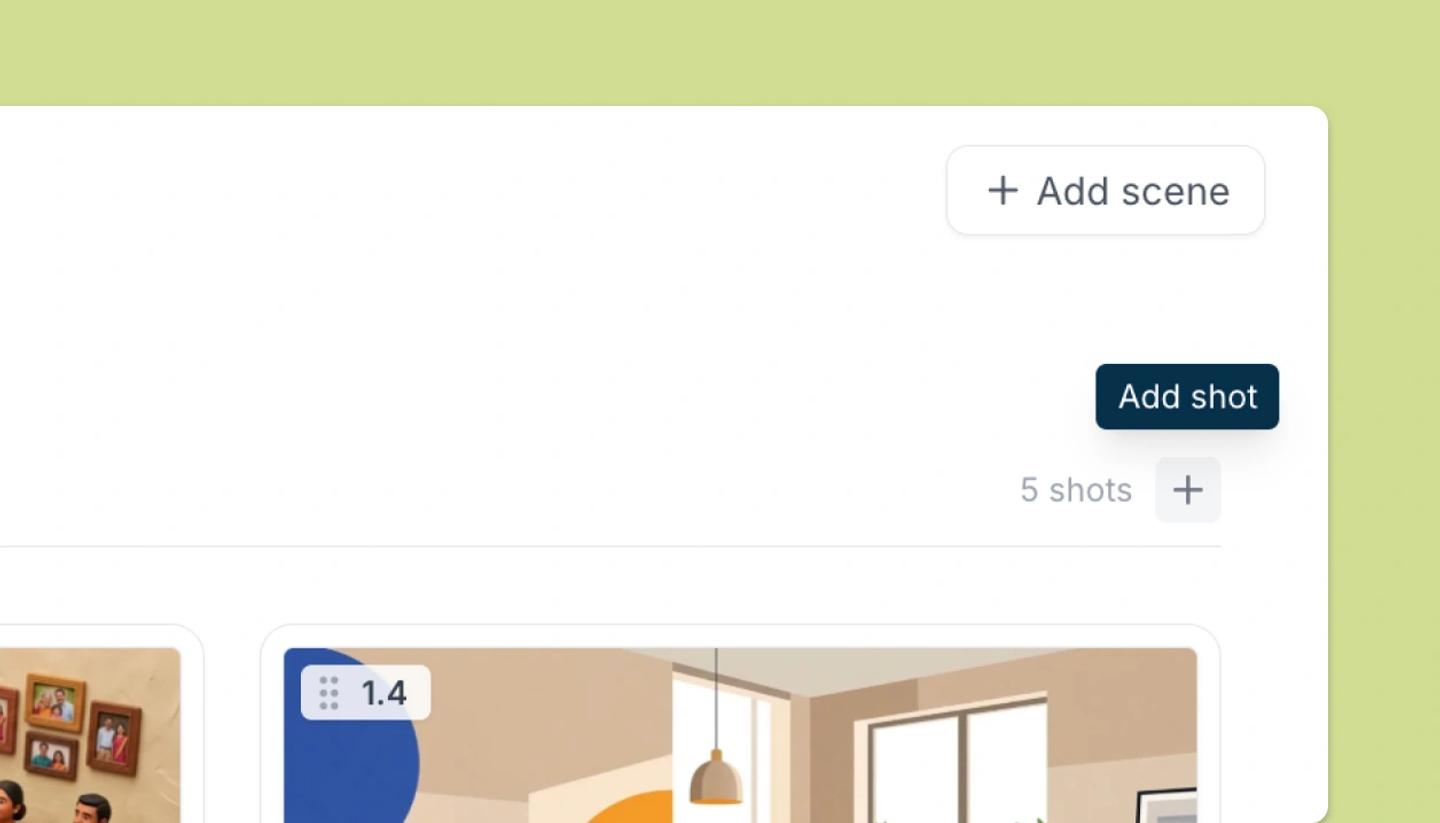
New shottile at the end of the board, the+on a scene header (Add shot), orAdd shot before/Add shot afterin a card's menu. New shots are blank and use the project's canvas size. - A scene:
Add scenein the toolbar, orAdd scene belowfrom a scene header's menu. Name it in the header (it starts as Untitled scene) and add a description withShow scene description.
Opening and editing
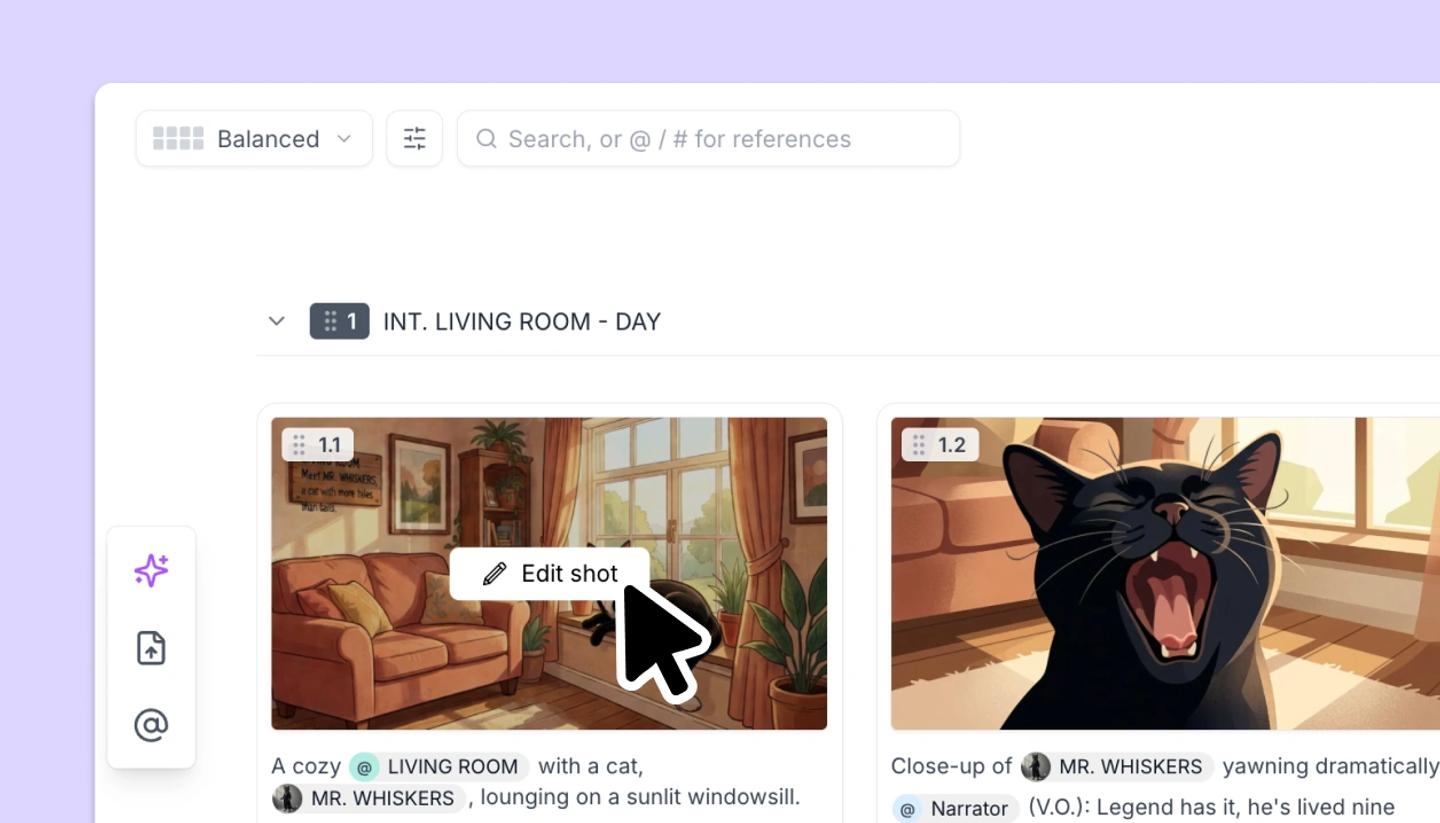
A single click selects a card; a double-click opens the shot on the Canvas. Click the script area under a card to write that shot's script without leaving the board. Click the shot number of scene number to edit them.
Change what the board shows
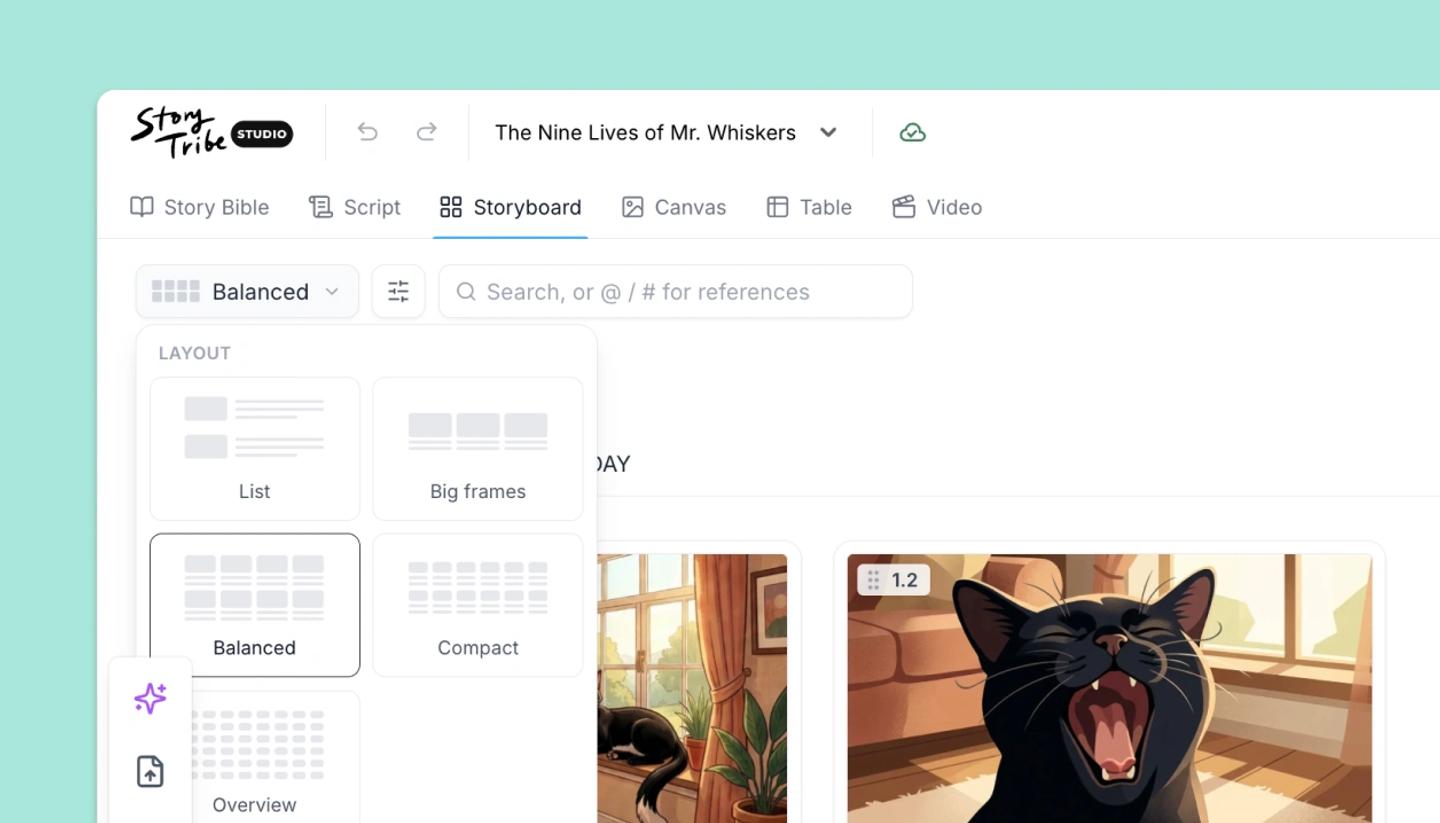
- Layout: List, Big frames, Balanced and Compact show bigger or smaller cards, with each shot's script underneath. Overview fits the most cards and shows frames only. Table tab turns the board into a spreadsheet-style shot list.
- Expand text (in View settings): shows each shot's full script instead of a preview.
- Show omitted (in View settings): shows the shots you've marked as omitted.
- Search: type in the search bar to show only matching shots. Type @ or # to find shots that mention one of your elements.
Common questions
Was this article helpful?
Need more help?
Send us a message. We reply within 3 days, usually sooner.