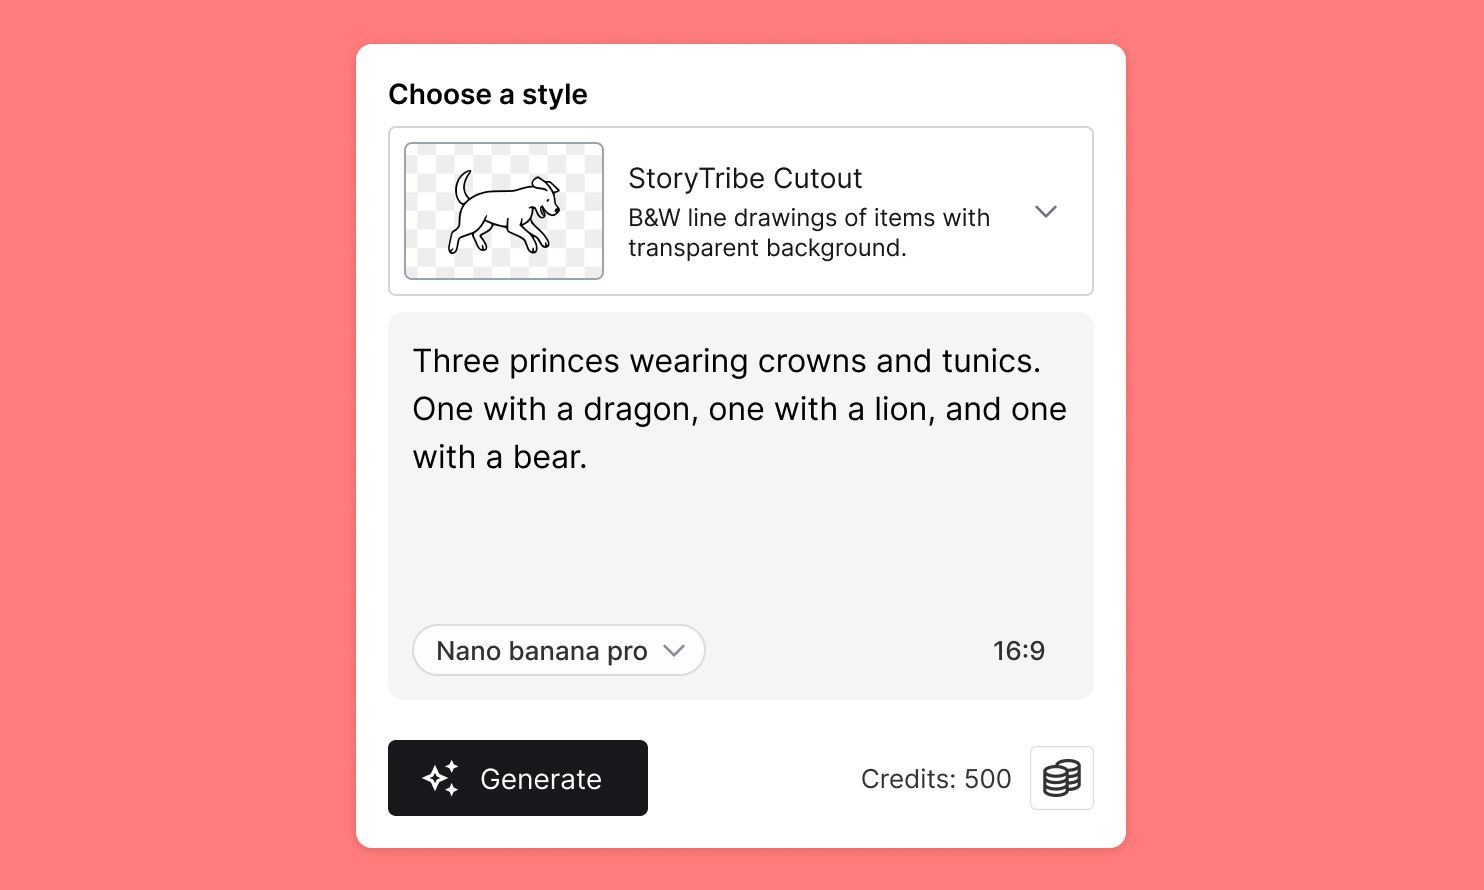
StoryTribe AI: Built for Storytellers
Create faster, iterate visually, and stay consistent — StoryTribe AI is designed for storytelling workflows, not one-off images.
StoryTribe
StoryTribe Team
Learn how to create engaging storyboard scenes with StoryTribe in just five simple steps. From building your first scene to customising characters and generating AI items, this guide will help you get up and running fast.

Welcome to StoryTribe — where visual storytelling is simple, flexible, and fun.
If you’re new to the platform, don’t worry. This guide walks you through the basics step by step. By the end, you’ll have a complete storyboard scene with characters, props, and even AI-generated elements.

Start by creating a new project in StoryTribe.
Once your project opens, click on Scene 1 to begin building your first storyboard frame. This is the canvas where your story will take shape.
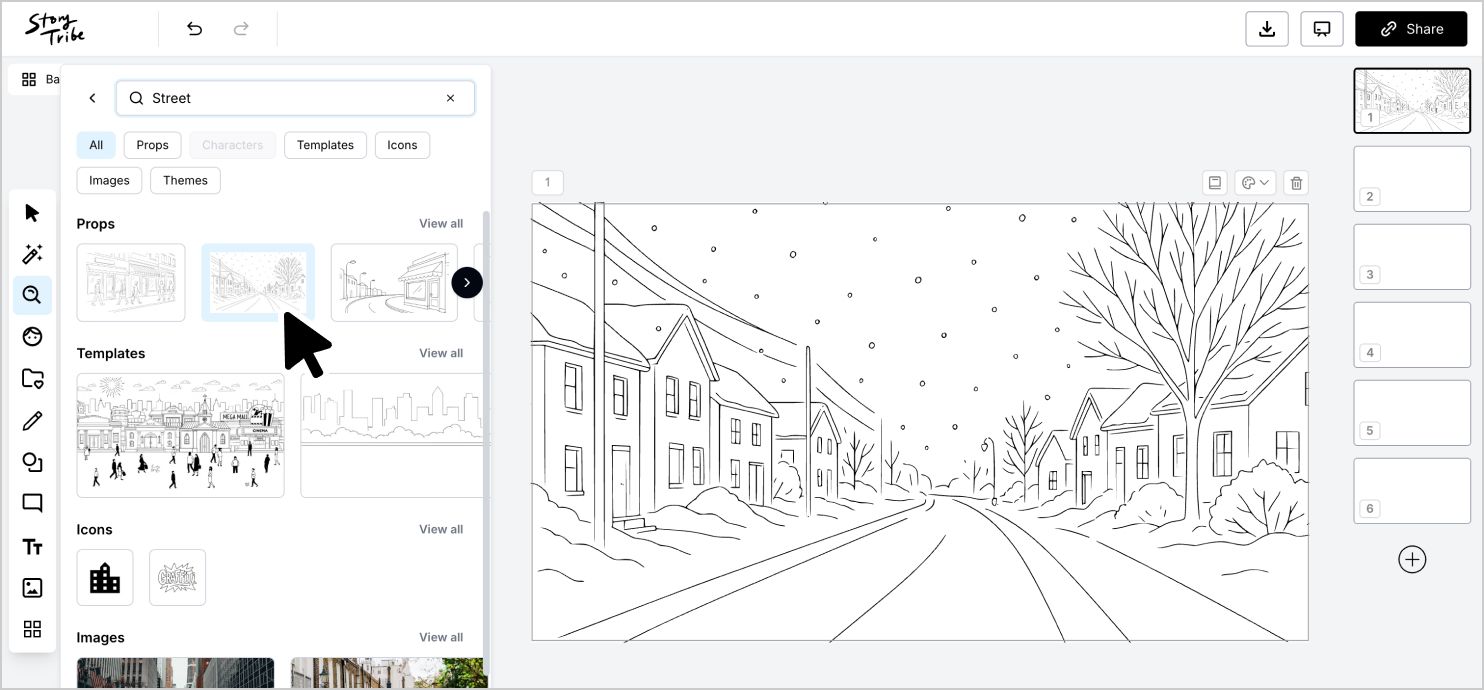
Let’s set the scene.
Click Search in the left toolbar and use the search bar to find a background. For example, try searching for “street” and add one of the options to your canvas.
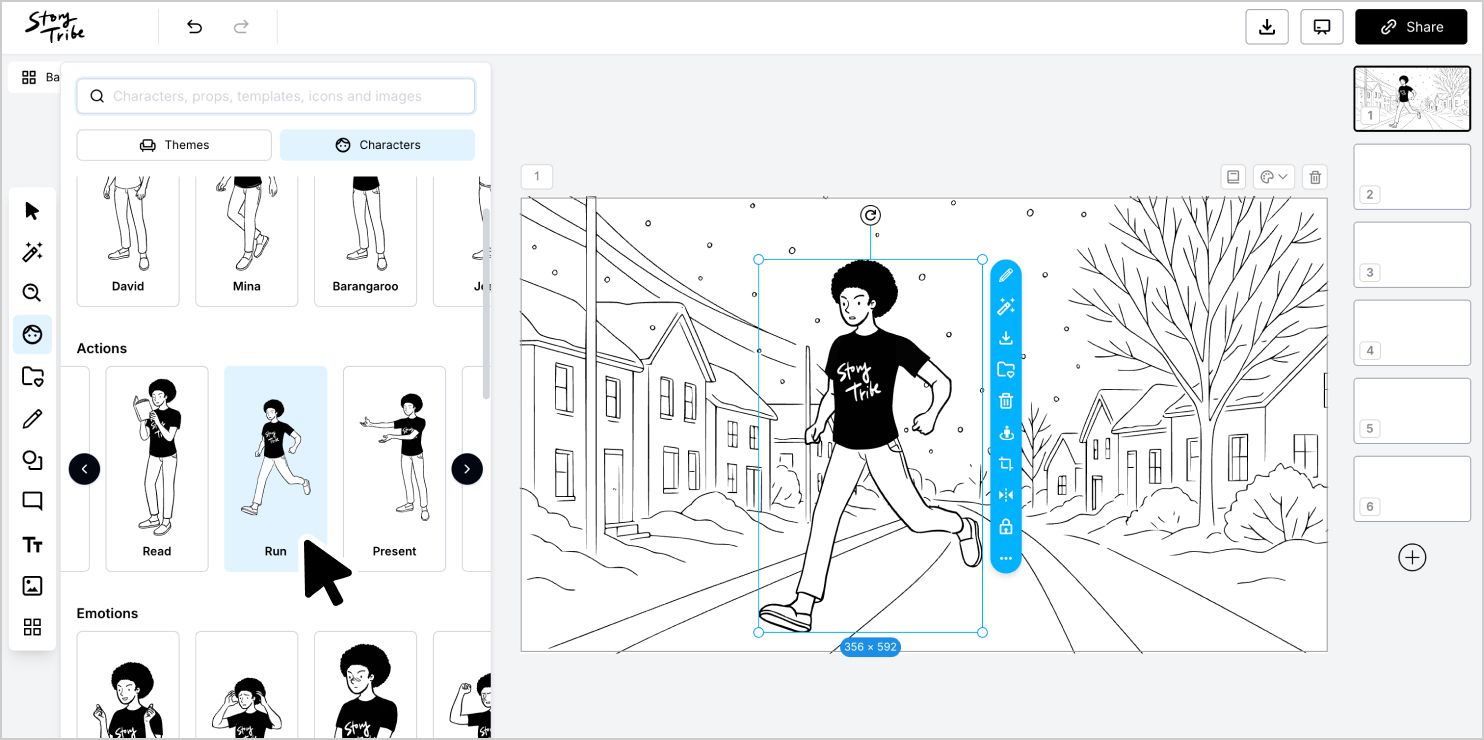
Now it’s time to bring your story to life.
Click Characters in the left toolbar and add a character to the canvas. Once placed, select the character and click Character Settings from the blue contextual menu. Here, you can adjust the hairstyle, emotions, outfits, and poses.
-> Learn more about Character Customisation
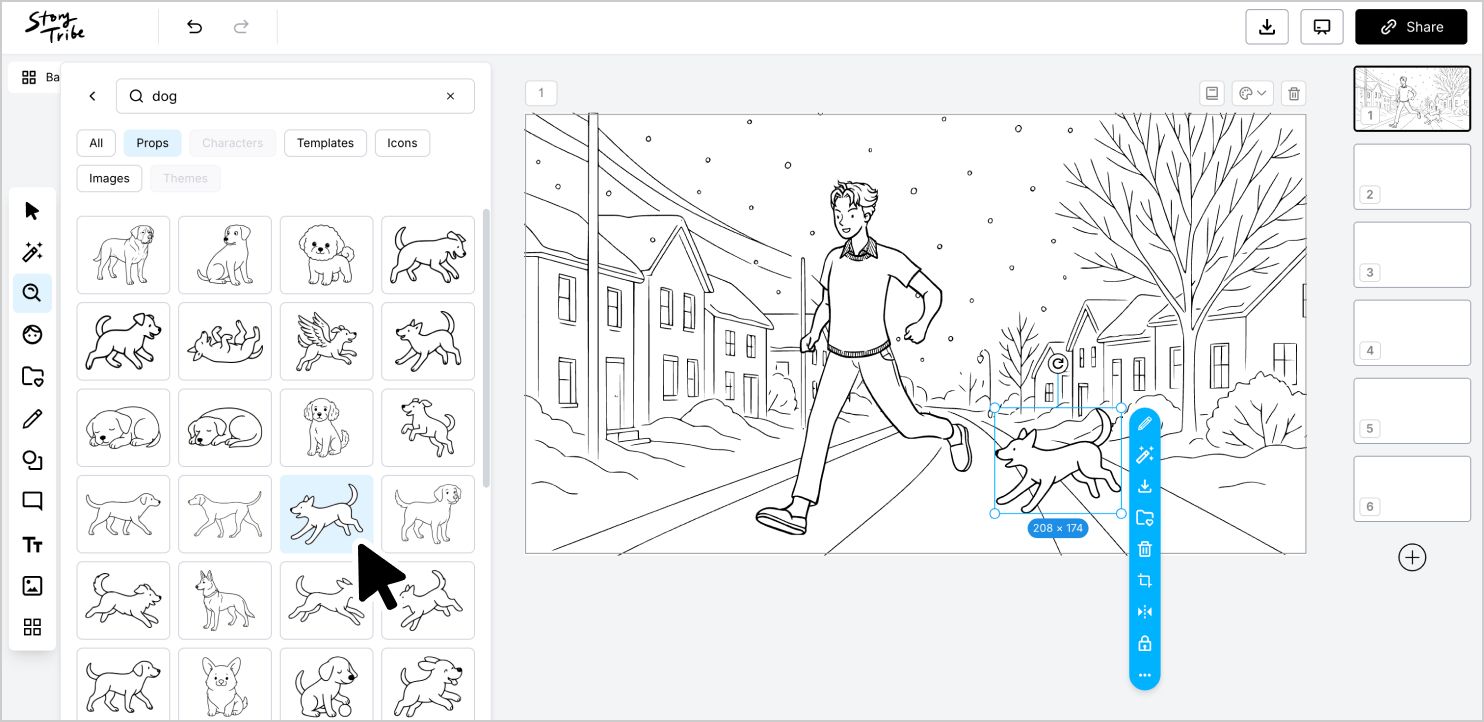
Go back to Search in the toolbar and use the search bar to find an item. For example, search for “dog.” In the Props row of the search results, click View more to see all available items, then choose one and place it in your scene.
You can resize and reposition props to fit naturally into the environment.
-> Learn more about Search
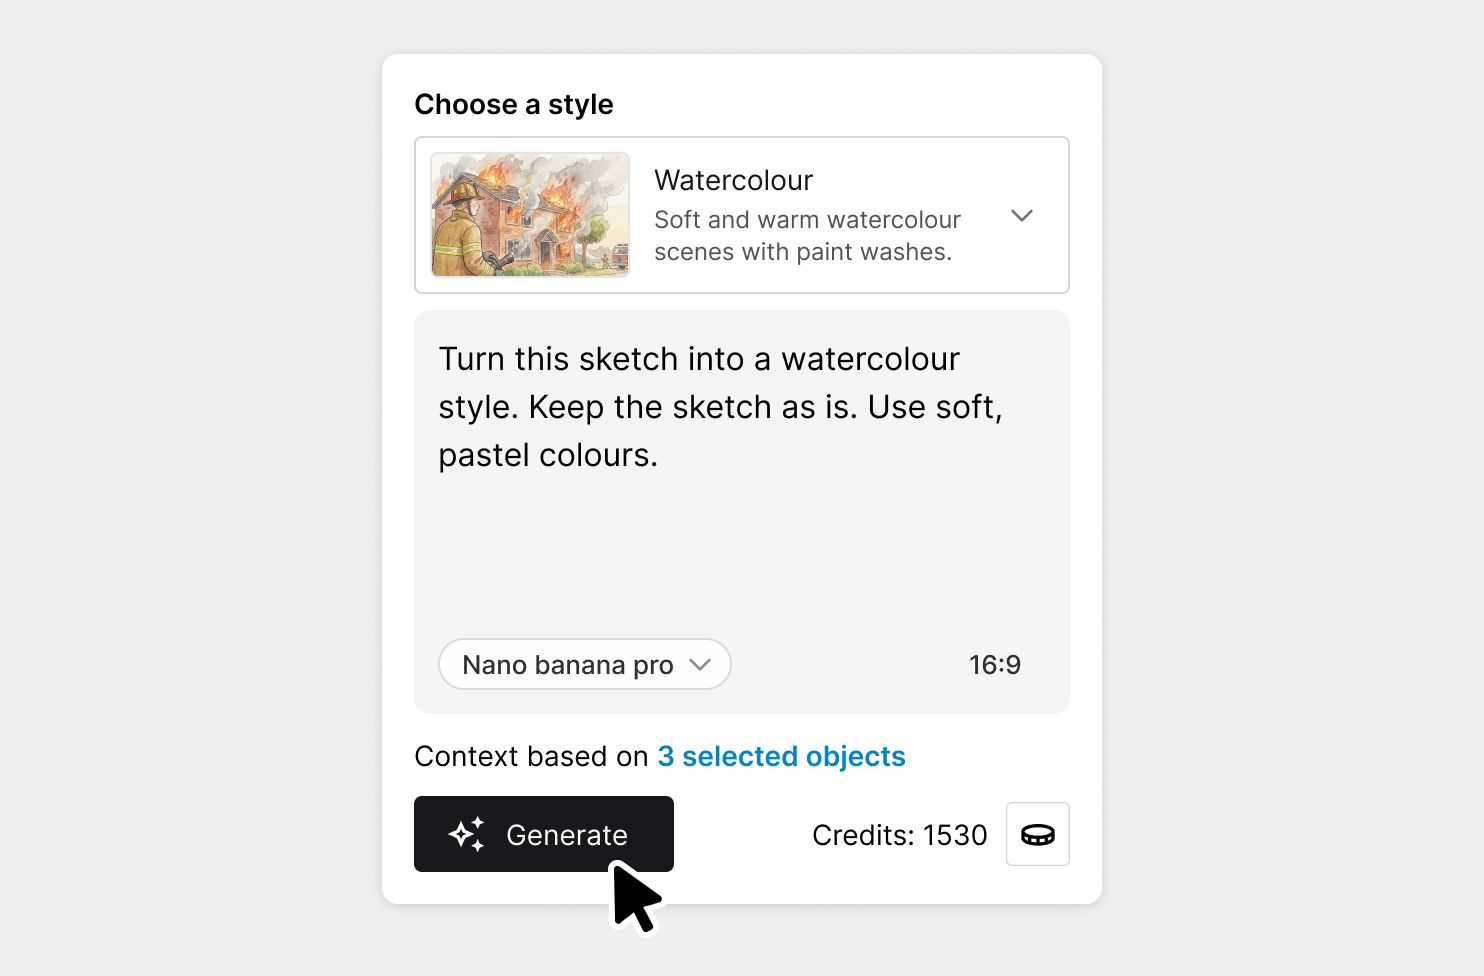
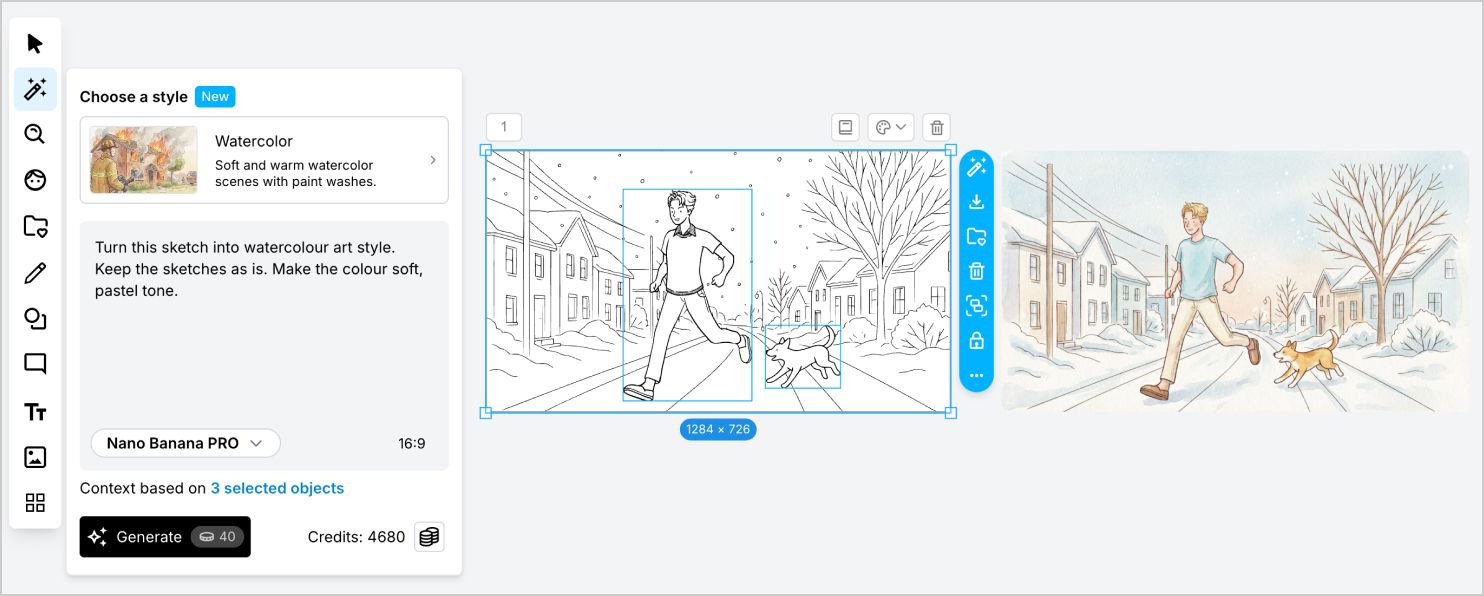
If you’ve sketched an idea, you can use it as a visual reference to generate a scene with Tribe AI.
Select your sketch as a reference, then generate an AI scene in a watercolour style. This lets you quickly explore mood, composition, and artistic direction without rebuilding everything manually.
Using visual references helps:
Instead of describing the scene in text, you show the AI what you have in mind.
-> Learn more about Tribe AI

If you notice anything not working as expected, please report it to [email protected]. Including a screenshot or short video recording helps us resolve issues faster.
You can also get help directly in the app by clicking the Help button (question mark icon) at the bottom of the screen, then selecting Help → Contact support to speak with one of our support team.

Create faster, iterate visually, and stay consistent — StoryTribe AI is designed for storytelling workflows, not one-off images.
StoryTribe
StoryTribe Team
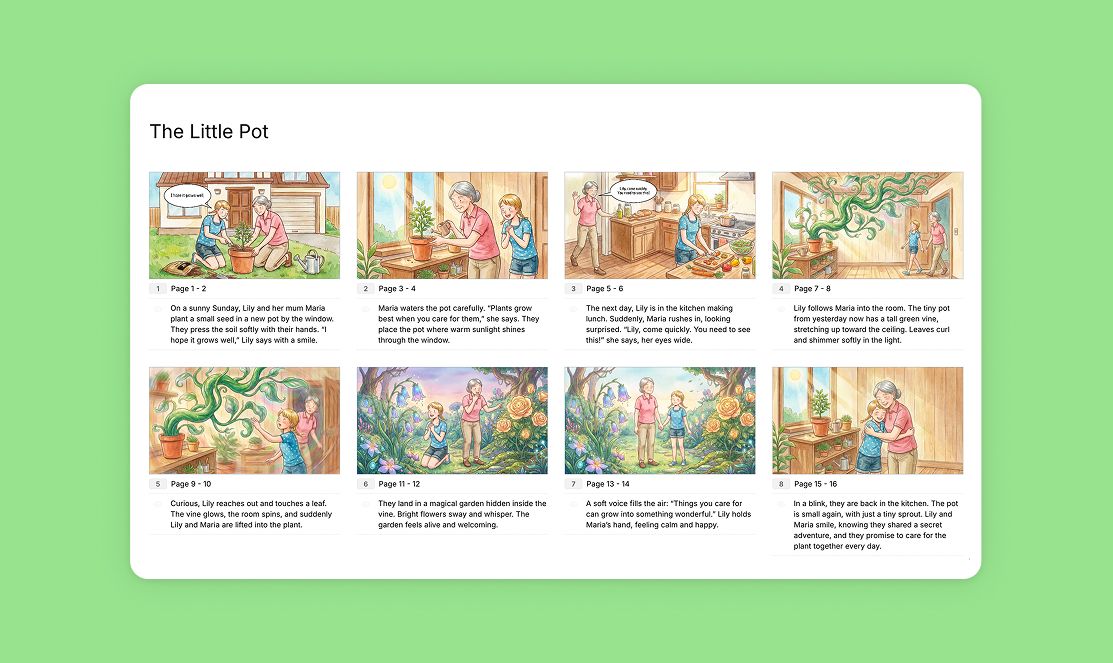
StoryTribe makes it easy to export your work so you can share annotated storyboards with colleagues or students, or print them for review and discussion.
StoryTribe
StoryTribe Team
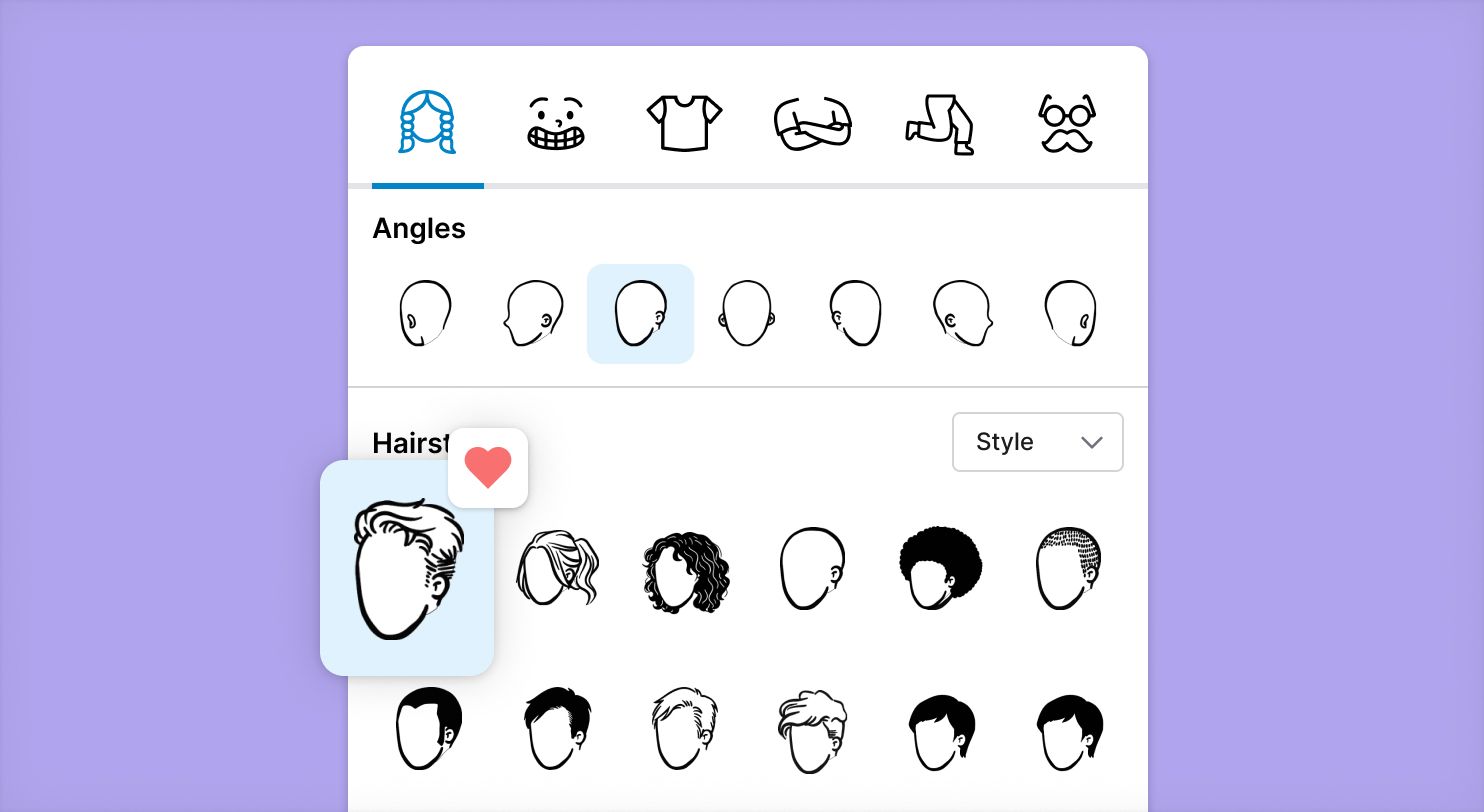
StoryTribe lets you organize frequently used props and characters using favourites and folders. Instead of searching for assets every time, you save and access them quickly, making storyboard creation faster and more efficient.
StoryTribe
StoryTribe Team