Record or upload a voice-over
Click the voice-over row in the Video view and open the Record or Upload tab. Your narration is added as a clip you can move, trim and split. Recording shows the shot's script to read and can run up to 10 minutes.
Last updated Sep 4, 2026

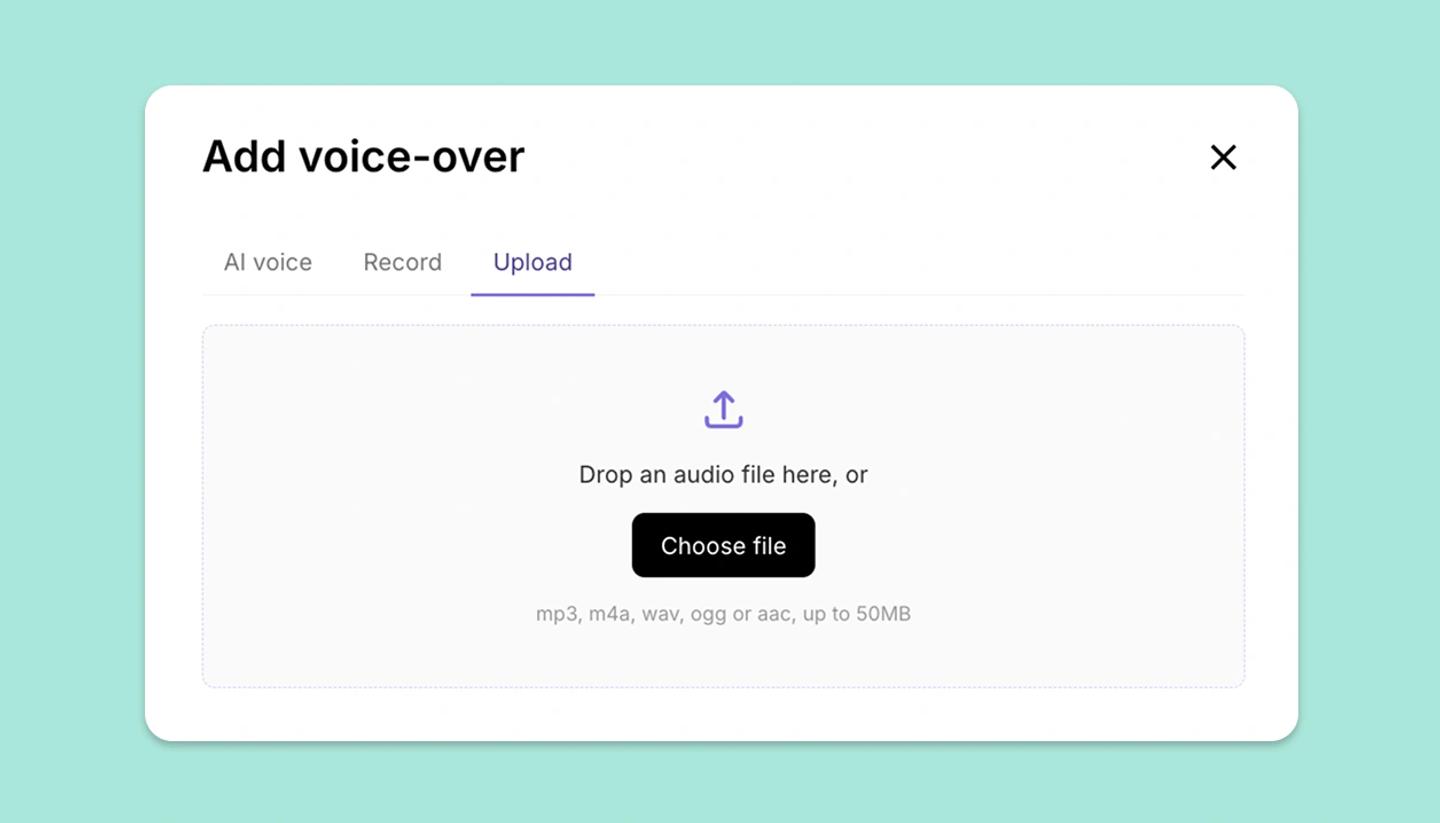
In the Video view, click the microphone button on the voice-over row (Add voice-over at playhead) to start the clip at the playhead. Or click the empty row to start one at the beginning. The Add voice-over dialog opens with three tabs: AI voice, Record and Upload. This article covers Record and Upload. For AI voices, see AI voice-overs.
Record your own
- Open the
Recordtab. UnderScript to read, the lines of the shot under the playhead appear with their speakers, ready to read aloud (Notes are left out). Pick a different shot from the list beside it to read that one instead. - Click the record button (
Press to start recording). If you have more than one microphone, choose one underMicrophonefirst. - Read your lines and click again to stop. A recording can run up to 10 minutes and stops itself at the limit.
- Play the take back, then click
Use recordingto save it,Record againfor a fresh take, orDiscard. The take is saved with its volume evened out, namedVoice recording 1,Voice recording 2and so on.
Upload a file
Open the Upload tab and drag an audio file in, or click Choose file: mp3, m4a, wav, ogg or aac, up to 50MB. The clip lands on the lane named after the file.
Working with the clip
- Drag the block to move it, and drag either end to trim. Trimming hides audio rather than cutting it, so dragging an end back out restores what you trimmed.
- Click the block for
Volume, renaming, and a menu withSplit at playhead,DuplicateandDelete. Splitting needs the playhead inside the clip; with the clip selected,Ssplits from the keyboard.
Need more help?
Send us a message. We reply within 3 days, usually sooner.