How to use Elements
Elements is your reusable cast, locations, props and styles: a library that lives with your account (or your workspace), feeds the Story Bible, powers @mentions in the script, and keeps Tribe AI consistent.
Last updated Aug 29, 2026
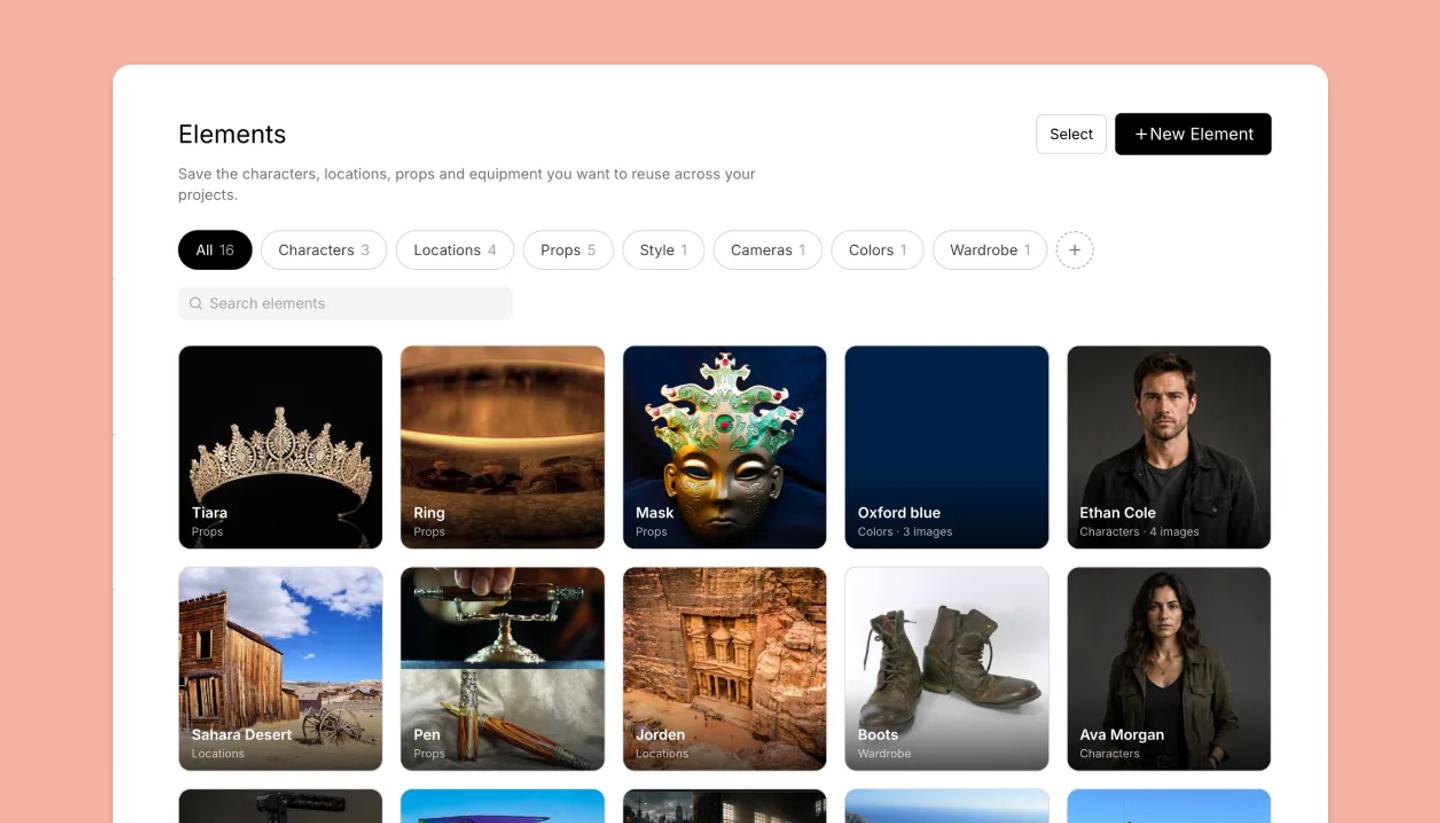
What an element is
An element is a person, place or thing in your story that you want to use again: a character, the cafe where the second act happens, the hero's car, or a look you keep coming back to. Each one holds:
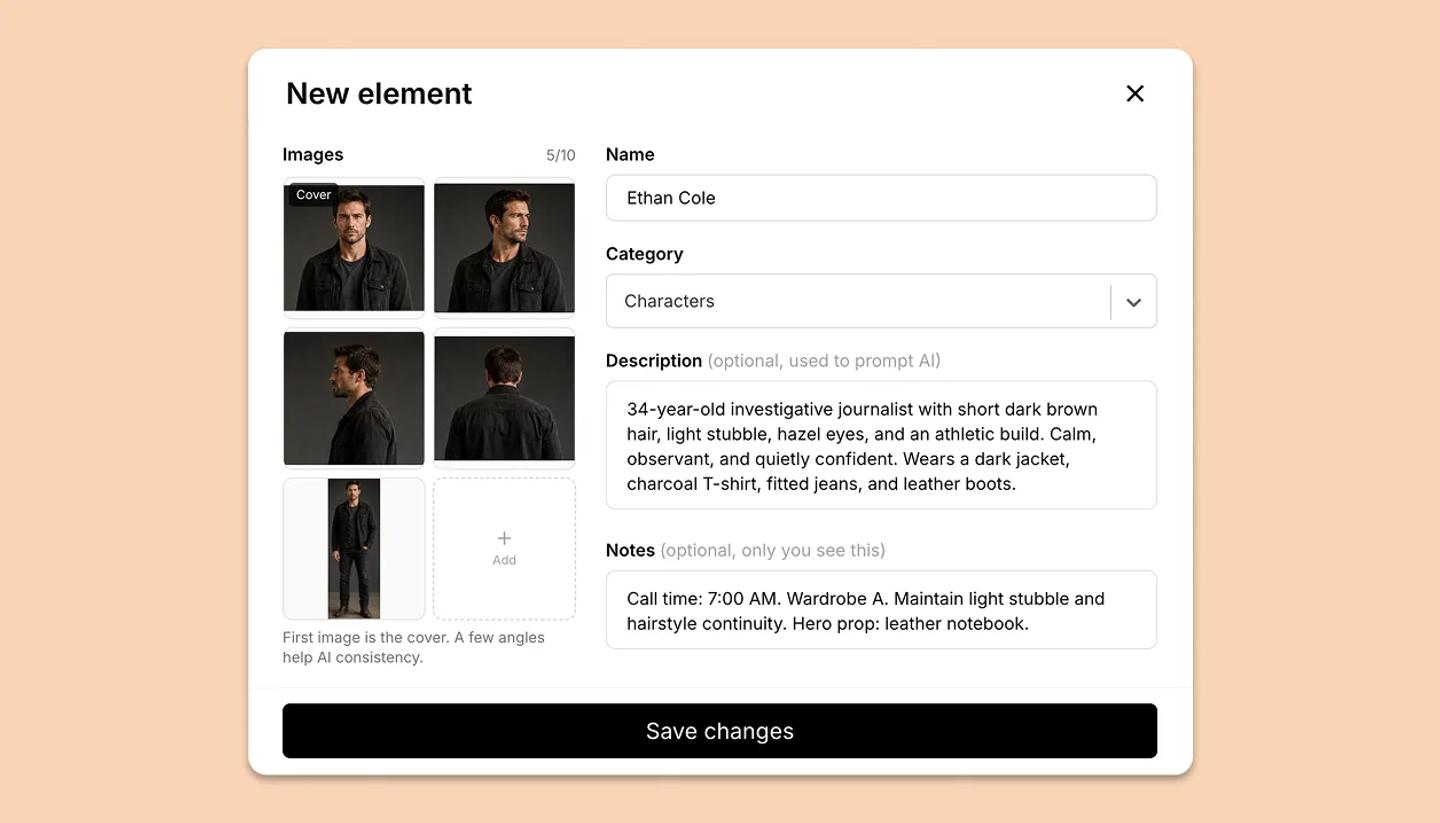
- Up to ten images.
- A description of how it looks, which Tribe AI uses to draw it the same way every time.
- Notes and a backstory, for you and your team.
Elements belong to your library, not to one project, so the same character can appear in everything you make.
Four ways to make one
- From the panel: click New element, then give it a name and a category, add images (Upload, Generate or From AI history) and describe how it looks.
- From the canvas: right-click anything and choose Save as element, either as a new one or added to an element you already have.
- From the script: select a name or a thing and choose Turn into element, or use Save as element on a speaker's name.
- Automatically: when you start a project from the Create page, StoryTribe reads your script and turns the cast it finds into elements.
Using elements
- On the canvas: open an element and click one of its images to place it in the shot. Photos arrive as images; anything you saved from the canvas arrives as objects you can still edit.
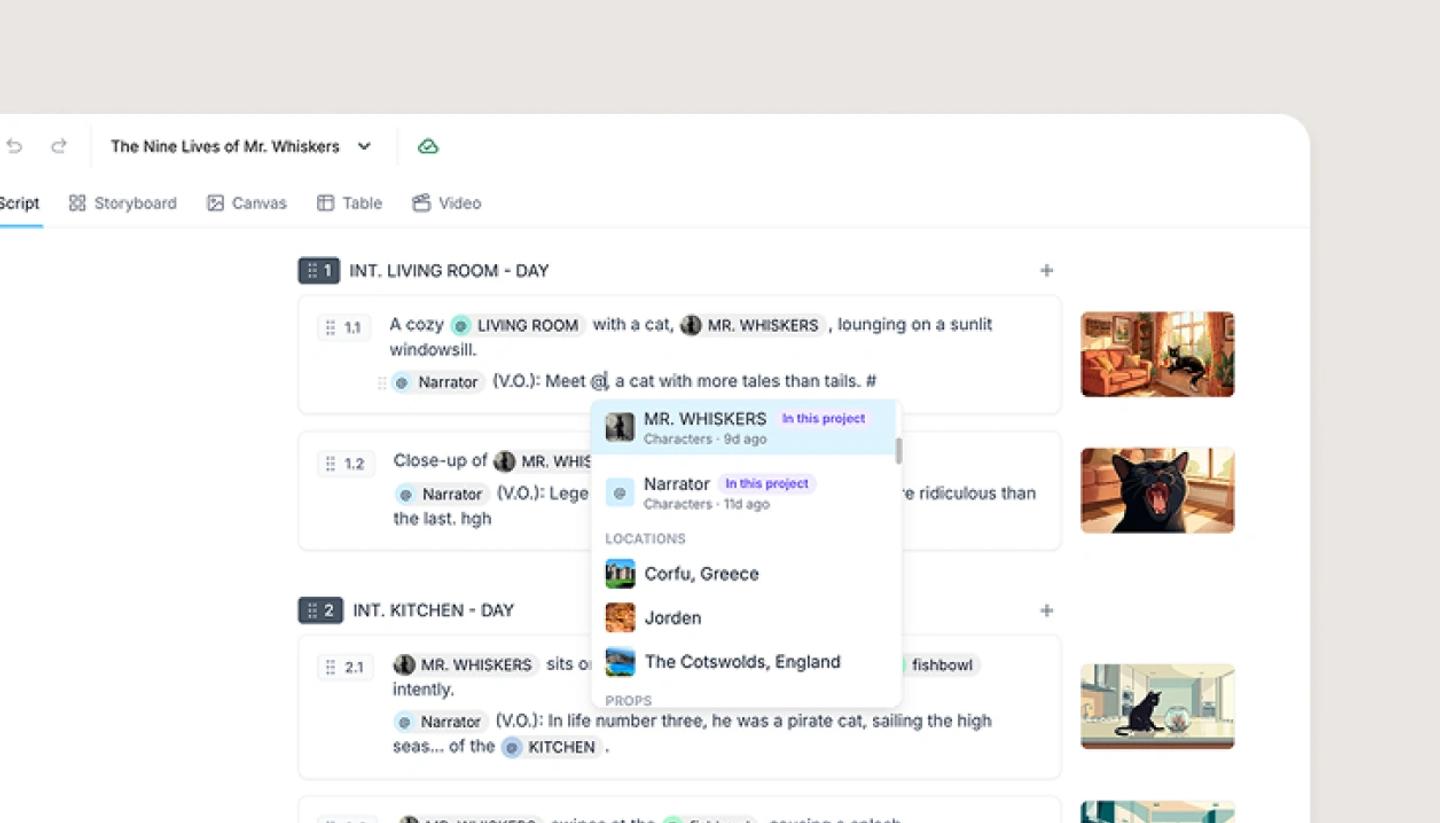
- In the script and properties: type @ and the element's name. The mention shows a small picture beside the name, and hovering over it gives you Edit or Turn into text.
- With Tribe AI: attach an element as a Consistent element, and the images it generates keep that look.
- In the Story Bible: every element the project uses is listed there for you, with no setup.
Editing, moving, removing
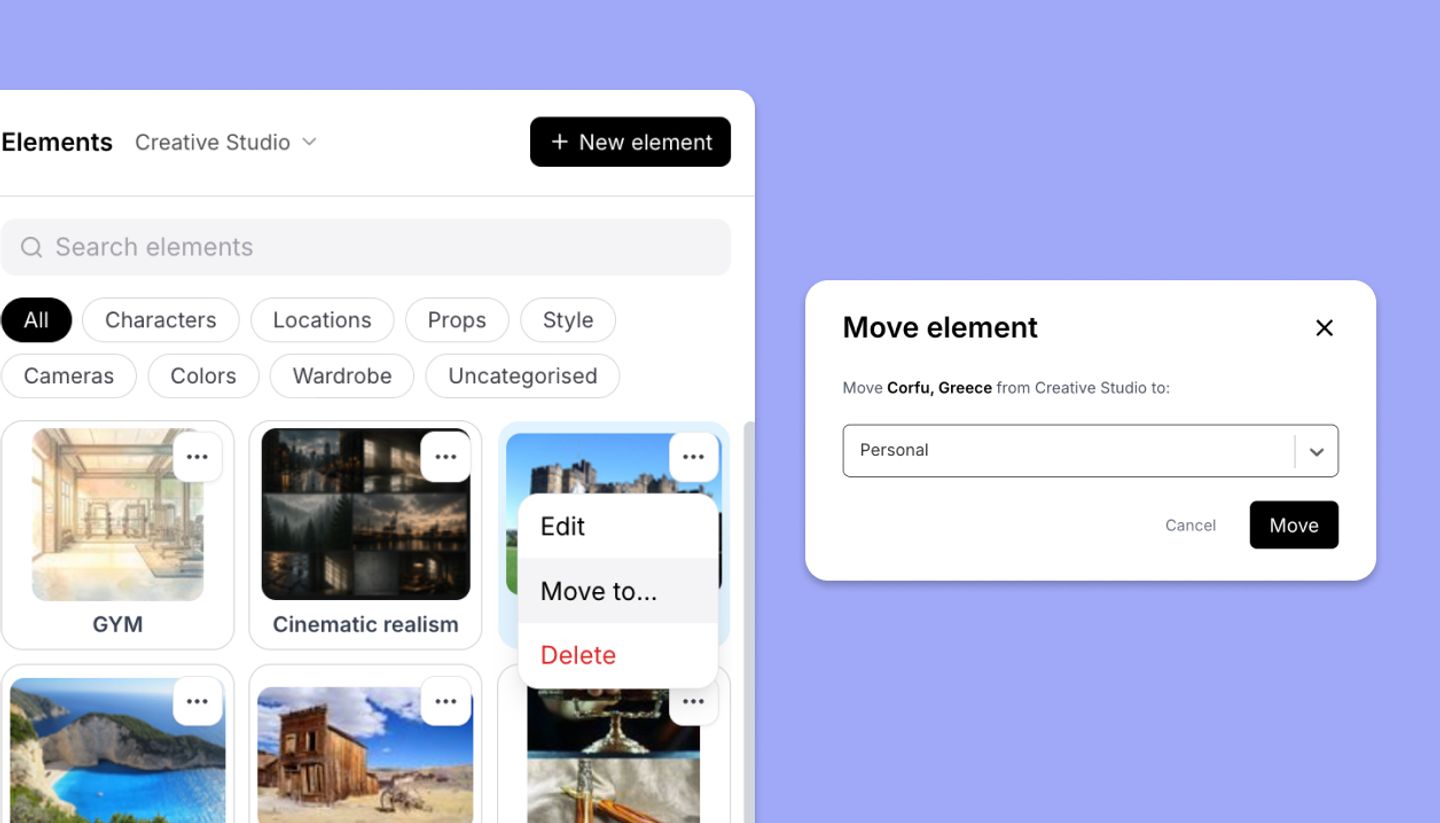
Open Elements from the @ icon in the canvas toolbar. The panel has a tab for each category: Characters, Locations, Props, Style, and any you add yourself. If you belong to a workspace, the picker at the top switches between your Personal library and the workspace's shared one.
Open the menu on an element's tile:
- Edit changes its name, images, description and notes.
- Move to... moves it between your Personal library and a workspace library.
- Delete is permanent and removes it from your library and every project. Anywhere you mentioned it, the name stays behind as plain text.
To take an element out of one project but keep it in your library, open its tile in the Story Bible and choose Remove from project. That unlinks it everywhere in that project, and you can undo it from the message that appears.
Related articles
The Story BibleNeed more help?
Send us a message. We reply within 3 days, usually sooner.